

Details |
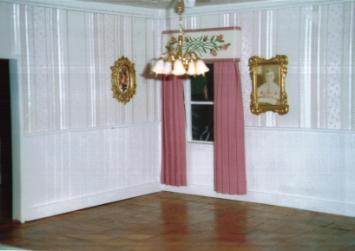
The house kit is a Woodline product named "Victorian Doll House" and dated 10-3-77. I think Pop said he bought it on sale at the time for $120. When he began the shell he modified it by adding the kitchen at the end. The one thing he did that made things a little difficult for us later was to use masonite for the second floor. You cannot drive anything into masonite. Because of the masonite the Cir-Kit tape that Pop had purchased was impossible to use. We could not put in the grommets. My husband ended up using regular copper wiring in the house. We were glad we did because it seems like it will last a lot better. For the shingles I wanted the look of a slate roof. We used 320 and 400 grit sandpaper, which is gray colored. I actually cut out every single shingle by hand and my husband glued them down. We then sprayed the whole roof with polyurethane. We figured we probably spent about $90 just in glue. We used rubber cement, model cement, hot glue, 3M spray adhesive, and a very little bit of Elmer's glue-all. Wallpapering was a special challenge for me. I had to create templates on walls that were already up. Then once these were fitted we ended up using the templates to cover the plywood walls and wiring. I used spray adhesive to attach the wallpaper to the railroad board templates and then used rubber cement to attach those to the walls. It did a very effective job of creating a smooth wall surface. We used crown mouldings on all of the rooms. My husband figured out how to fit them by using his Dremel tool to shape the ends. He also created wainscoating using wood scraps Pop provided, probably purchased at a miniatures shop. |
NOTE: The methods described on this page are not professional methods. This is how we muddled through. |

When we got the dollhouse from Pop it had some of the porch built on from several years ago. However, the kit instructions called for surface gluing the dowels between the railings and the glue had not aged well. The porch was falling apart. We had to rebuild the porch railings from scratch. Instead of relying on the surface gluing method again, my husband used a Dremel tool to drill holes in the rails to hold the dowels more securely, and then also glued. While I was ready to take shortcuts at times, my husband always adhered to the "slow and proper" way. Tools we found indispensible to house building: Dremel tool with lots of bits and attachments, jigsaw, Xacto knives, rulers, hot glue gun, good paint brushes in varying sizes, and the usual scissors, glue, and pencils. |